OC NPC Playground How to Create an OC NPC
From blank avatar to a character other NPCs can react to.
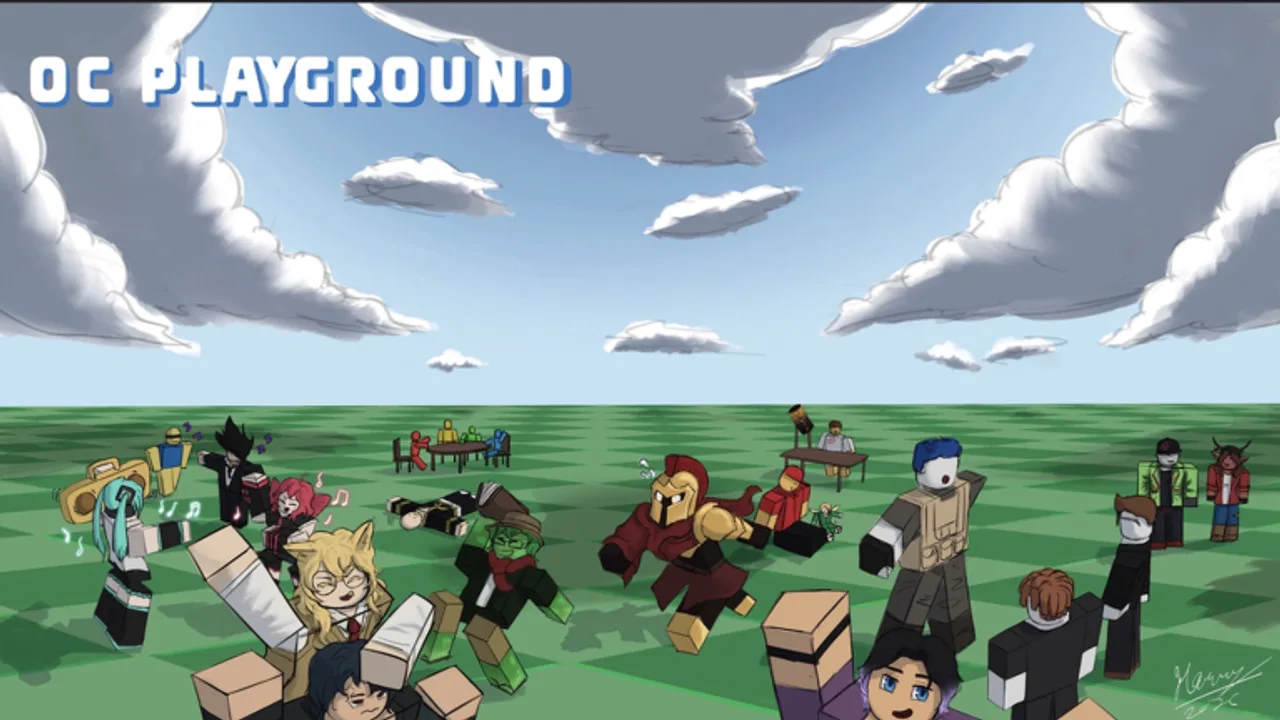
Creating an OC NPC in OC NPC Playground is the most important skill in the entire experience. The Create menu in the top-left is your studio: everything you set here — appearance, name, lore, backstory — becomes context when your character enters the world as an NPC. This guide breaks the process into repeatable steps so you do not spawn a generic avatar that blends into the background.
Open the Create menu
After joining a server, locate Create in the top-left corner. Tap or click it to open the character builder. If you cannot find the button, verify you joined the correct game via Official Links and check Launch and Early Patches for UI changes.
Phase 1: Appearance
Start with silhouette and color because other players recognize your OC visually before they read any lore.
- Pick a body scale that fits your character concept — towering mentor, compact trickster, etc.
- Choose hair, clothing, and accessories that match one clear theme. Avoid stacking every free item; legibility matters in crowded servers.
- Use contrasting colors so your NPC reads well on mobile screens.
- Name your OC something memorable but pronounceable. Avoid spam characters or copywritten names that violate Roblox rules.
If you need inspiration, browse the OC Archetypes Tier List before committing to an outfit.
Phase 2: Personality hooks
OC NPC Playground lets you supply lore and backstory text. Treat these fields like a character sheet, not a novel.
- Write one sentence describing what your OC wants in the scene.
- Add one flaw or fear other characters could respond to.
- Note how your OC speaks — formal, slang-heavy, shy, boastful.
- Avoid contradictions (a pacifist who loves brawling) unless intentional comedy.
Use the Lore Prompt Helper if you stare at empty text boxes. Pair it with the full Lore and Backstory Guide for advanced techniques.
Phase 3: Pre-spawn validation
Run the OC Creator Checklist before you leave the Create menu:
- Appearance matches the archetype you chose.
- Name is unique enough for friends to identify in clips.
- Lore fields contain at least three concrete details.
- You chose public vs private server intentionally.
- You read Performance Tips if the lobby is crowded.
Common creation mistakes
| Mistake | Fix |
|---|---|
| Blank backstory | Add one goal and one relationship hook. |
| Overloaded lore paragraphs | Trim to scannable bullet ideas the system can use. |
| Copying anime characters 1:1 | Roblox moderation may flag IP violations; aim for inspiration, not clones. |
| Ignoring mobile readability | Test outfit contrast on a phone before spawning. |
How creation connects to spawning
Creation is only half the journey. After you save your OC, read How to Spawn and Interact for timing, camera angles, and lobby etiquette. New players should also skim Getting Started for the big-picture loop.
Private servers and creation
Because the developer heavily encourages private servers, consider building characters while friends do the same, then spawn together for coordinated scenes. The Session Planner helps schedule those group builds without chaos.
Updating an OC later
Roblox experiences evolve. When customization options expand, revisit this guide and Launch and Early Patches. Keep screenshots of your favorite builds so you can recreate them if menus reset during major updates.
Frequently Asked Questions
Quick answers to the most common questions.
What can I customize when creating an OC NPC?
You can set appearance plus lore and backstory fields according to the official description. Exact options may expand with updates.
How long should backstory text be?
Start with three to five short bullet points covering goals, tone, and one relationship hook. Long essays are harder for systems and players to parse.
Can I import an OC from another fandom?
Yes, but adapt outfits and names to Roblox rules. Use archetype guides to translate personality into fields the game supports.